Friday, November 30, 2012

Year Round Cheer - December SOTM Hop

Welcome to the December Stamp of the Month (SOTM) Blog Hop! This month's stamp set Year Round Cheer contains Twelve (12) stamps! One great set to get you through a year of stamping.  Check with your consultant to get this set before it is gone.

If you came here from Katy Taylor's Blog you are on the right track. If you would like to see a complete list of SOTM bloggers click here. We have sixty consultants who have projects to share with you.

Here is my first card:


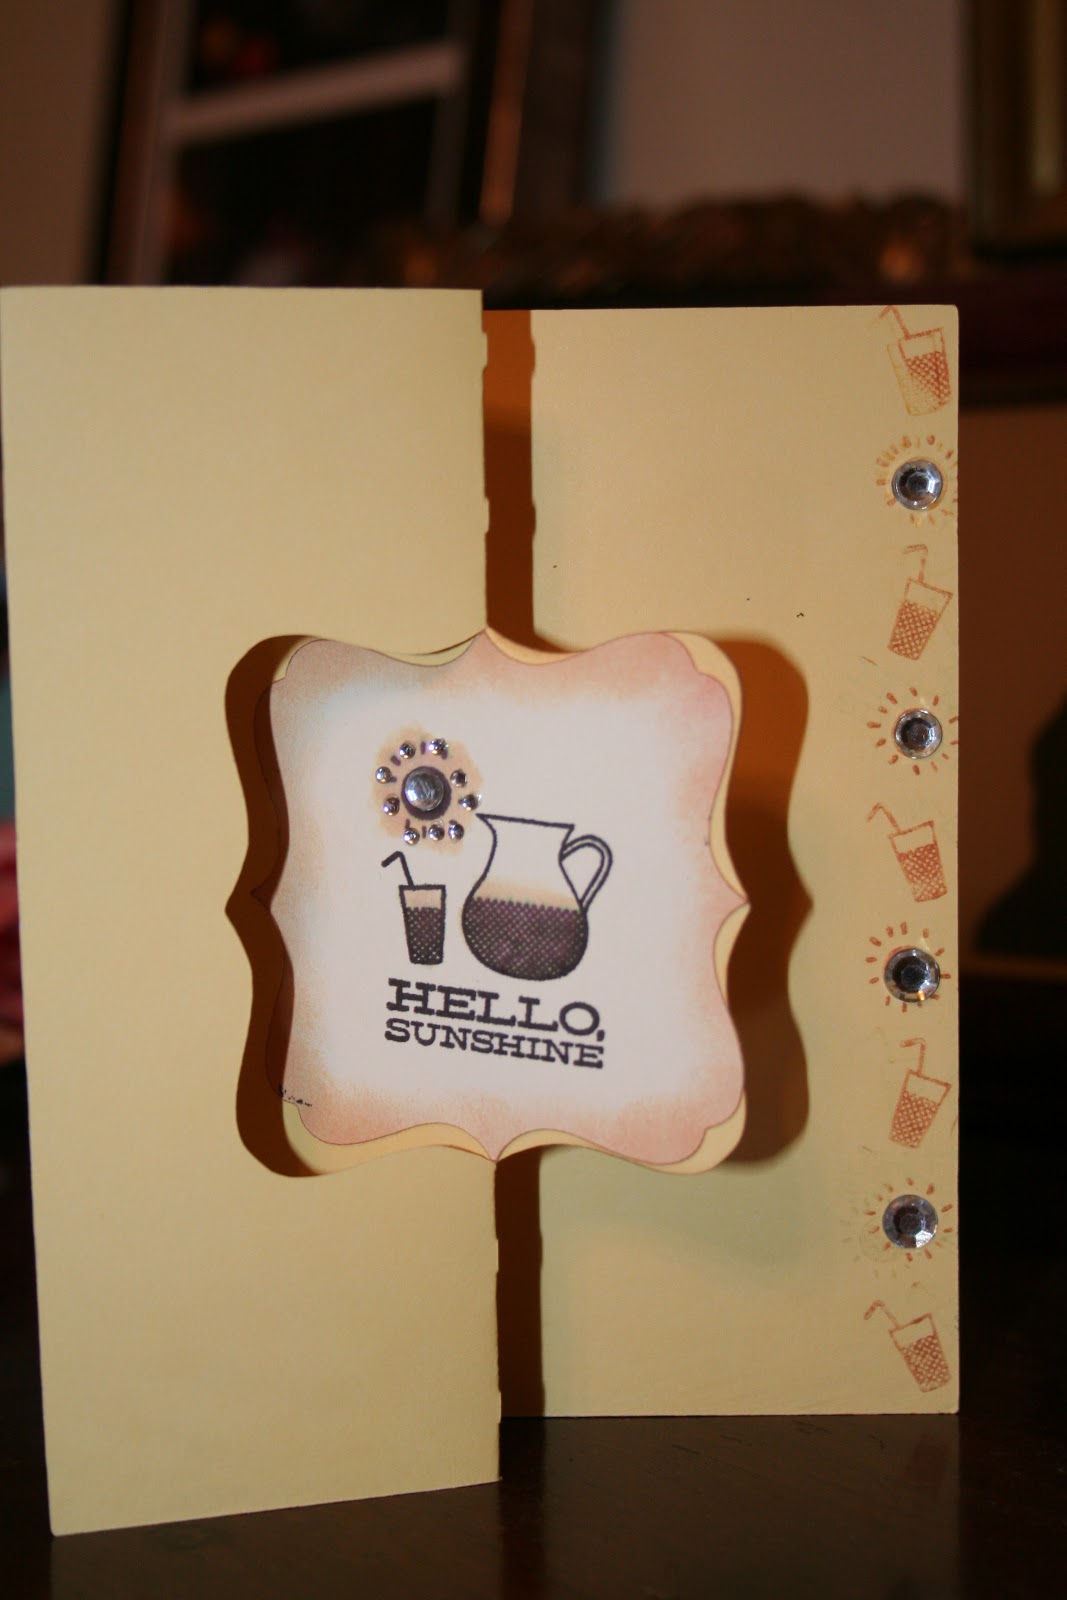
I was fascinated by the gate fold cards on the new Cricut Artiste cartridge.  They are all located on the "S" Key.  I cut out shapes to match from colonial white cardstock to stamp and embelish.  I also challenged myself to use elements from stamps to enhance the borders.
and a detail shot:
I colored the BBQ from the stamp for the border stamping and used a blossom from the snowflake stamp in between the words.  I then added the red glitter to the main medalion and red sparkles to the border blossoms.
 
Second card:
The leaf from the top of the Christmas set was used for the border and around the scallop was used to look like a wreath.
 
Third Card:
 
Here is a detail of the border:
I colored the sun and the glass with markers and then added bling for the sun centers.
 

Fourth Card:
Detail using top of snowflake along the border to look like growing flower buds.
 

Fifth Card:
Detail using the top of the Lucky stamp for the border:
 

Did I say I was a little obsessed with the gate fold cards!  I don't think I have ever made this many cards for a blog hop.
 
Final Card (not a gatefold but from the same font cartridge):
 
Continue enjoying more ideas, using this stamp set, by joining Jen Patrick at her blog.

Wednesday, October 31, 2012

November Stamp of the Month - Capture the Date

Welcome to the November Stamp of the Month (SOTM) Blog Hop! This month's stamp set Capture the Date is a Limited Edition containing Seventy Two (72) (yes, that many!) stamps! Check with your consultant to get this set before it is gone.
If you came here from Laurie Newton's Blog you are on the right track. If you would like to see a complete list of SOTM bloggers click here. We have over sixty consultants who have projects to share with you.

Here is my first card:
My baby will turn 18 on November 8th.  So, I have made a couple birthday cards with him in mind.  The first is stamping November 8 repeatedly on cardstock.  I then took some scrap cardstock and used the cricut to cut out "18", squared the cutout (allowing the one to be cut off on the left side) and then used the corner rounder on each corner.  I then inked up it's your birthday from Card Chatter - Birthday stamp set.  I topped the green cardstock with a cocoa tab slider.
 
and a detail shot:
 
The second card is my favorite, because I love clear cards:
 
I used scrap sweet leaf 1/2" strips to make stripes over a clear cardstock cover (I used scissors to cut the shape of the card from along the strips).  I then randomly stamped 18 in three different sizes and colors on a 4 1/4" x 5 1/2" piece of colonial white cardstock.  This was adhered to the back of the clear card.
I then used the cricut to cut out three different colonial white labels and one sweet leaf tag. The green tag was stamped with Happy Birthday, and Happy 18 was stamped on a scalloped square then It's your birthday was stamped along with circled numbers 1 & 8 on the fancy cut label.  The large label has pop dots on the back (which are hidden on top of the stripes and the ribbon was run through the large lable handles and the smaller labels.
 
Here is a detail of the stripes and labels on the clear card:
William's favorite color is green - so that is why both cards were made in this color pallet.  :)
 
Continue enjoying more ideas, using this stamp set, by joining Lisa Sargent at her blog.

Sunday, September 30, 2012

October - Very Merry Christmas - Blog Hop

Welcome to the October Stamp of the Month (SOTM) Blog Hop! This month's stamp set Very Merry Christmas is a Limited Edition containing Eleven great stamps! Check with your consultant to get this set before it is gone.

If you came here from Haley Dyer's Blog you are on the right track. If you would like to see a complete list of SOTM bloggers click here. We have over sixty consultants who have projects to share with you.

Here is my project:
 
 
I love Halloween and the Fall!  I made a Halloween ornament following instructions from Angie Kennedy Juda's You Tube video.  I just had to do this in Sorbet and Topiary.  The ornament shape is cut out multiple times with the Cricut Artiste Cartridge and then the snowflake "a HOLIDAY TREAT" shape is also cut out multiple times.  I stamped the ornaments in Topiary and the snowflakes in Sorbet.  The center piece is the webtype border from the Philosophy cartridge which I accordian folded.
 
In each petal you will see Sunset Baker's Twine from the Paradise Assortment.  Black Tulle Ribbon is placed throughout and the centerpiece is a large bling button with a green  sparkle in the middle


and a detail shot:


The Back:
The back looks like a flower With the saying A Holiday Treat as the centerpiece.
 
Here is the entire Stamp of the Month (SOTM) set - Very Merry Christmas:
 
Continue enjoying more ideas, using this stamp set, by joining Michelle Jones at her blog.

Friday, August 31, 2012

Fall Favorites - September SOTM

Welcome to the September Stamp of the Month (SOTM) Blog Hop! This month's stamp set Fall Favorites is a Limited Edition containing Eleven great stamps are great for watercolors and chalking!  Check with your consultant to get this set before it is gone.

If you came here from Dawn Heuft's Blog you are on the right track. If you would like to see a complete list of SOTM bloggers click here. We have sixty consultants who have projects to share with you.

Here is my card:
This card is basic white card and the cover is white cardstock base with a black cardstock border. 

*  I first stamped the four fall images at the base of the card with versa mark and then heat embossed with black, then I masked the image and stamped the scarecrow image above and slightly over in versa mark and heat embossed with black powder. 
*  Once both images were heat embossed, I started with Creme Bruele ink and a brayer and applied ink over the entire image.  Then I took sunset ink and used a sponge to feather that color around the images leaving the center of the card creme bruele.  Finally I took tulip ink and feathered that color over others, on the outer edges of the card.  This provides the sunset feeling in the background. 
*  I used one of my favorite techniques - the bleaching technique.  I used bleach and the water pen to apply bleach within the outlines of the images (heat embossing the image helps keep the bleach inside the lines).  Because CTMH papers are buffered, bleach will not remove the color from our cardstock, however, it will remove our ink placed on our cardstock!  So, once the bleach is applied, the color comes out of the areas applied to.  For a brighter white, apply additional coating of bleach (check that white bird out!), for less bleaching you water the bleach mixture a bit and apply it lightly.  Ensure that the card is dry before proceeding to the next step.
*  Come back in with a clean water pen (rinse out the bleach and refill the water in the barrel to ensure bleach is cleared out).  Pick up ink colors from ink pads to color in the images!  You may need to apply a couple of layers of ink depending on intensity of color you want and strength of the bleach (it may continue bleaching color on the first application if you applied a lot).

and a detail shot:
I added a saying from another set by stamping this in a bubble cloud which I cut using Cricut Artiste and backed the saying with a black cardstock mat 1/4" larger.  The saying is popped up with 3D tape.  Finally, I added our new brown and tan sparkles to the center of the flowers and tiny black sparkles to the scarecrow and birds eye!
 
Here is the entire Stamp of the Month (SOTM) set - Fall Favorites:
 
Continue enjoying more ideas, using this stamp set, by joining Jen Patrick at her blog.

Sunday, August 5, 2012

New Product Blog Hop

Welcome to the CTMH New Product Blog Hop! We are excited to show off some of the products introduced in the NEW Fall/Winter Idea Book - especially the new Cricut Artiste cartridge!!! 700 shapes - and lots of 3D items! 

If you have come to my blog from Heather's site, you are on the right track. This hop is ANYTHING NEW in the just introduced Idea Book!

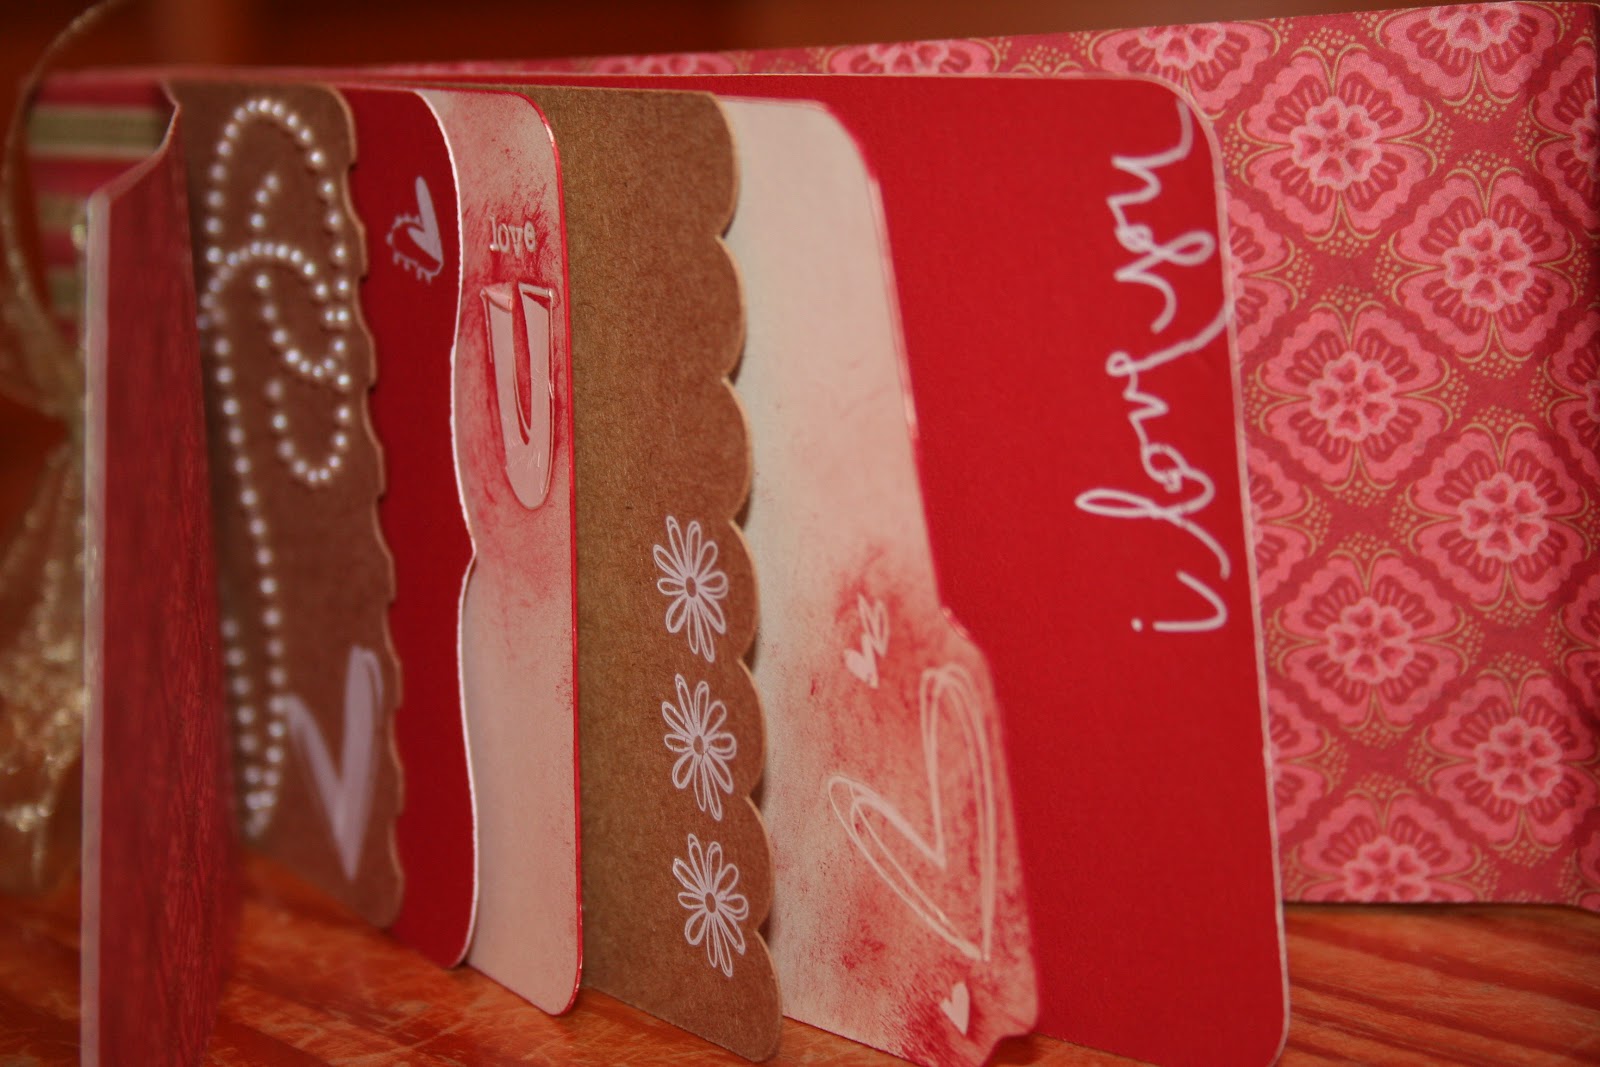
I chose to work with Pear & Partride paper pack but with a twist.  I made an album card with the new Artiste cartridge and a few sheets of cardstock.  I am so excited about the project diversity we will have.


Each layer is different accent layers from the same key (L, in this case).  The outside is made from the Pear & Partridge stripe paper and is the 3D button (using shift and non shift), the internal layers are done with Cranberry, kraft and colonial white using combinations of accent 1, 2 and 3 (shift and non shift).

I used the new Opaques Pearl Flourish on the initial page to add some romance to the rub on heart.


Some very old rub ons added a perfect touch to the ends of each tab in the album card.  The entire book was tied up with a nice little bow. 

The final touch was the nifty little hook and loop dots.  These great 1/4" dots are the perfect closures for Cricut projects.


I really wanted to highlight the versitility of Pear & Partridge paper, it really is a beautiful package for many applications!

If you are ready to shop, click on the idea book from my blog to get started!


Please continue to hop with Lisa Sargent.